How to Dry Your Hydration Bladder (Few Simple Steps)
This week I’m covering how to dry your hydration bladder.
Are you a first time user of a hydration bladder? Maybe you have used a hydration bladder before but had issues with the bladder getting stinky over time. I’m going to lay out a quick step x step guide to drying your hydration bladder.
Cleaning and Using Your Bladder
Before we get into drying your bladder, I want to touch briefly on cleaning and using your bladder. Below in the photo is the insert card we included with the packaging in one of our hydration bladders.
This shows you exactly how to clean your bladder. Do you have questions for using the bladder? I’d be happy to answer them, just drop me a note here.
Now, let’s move onto the reason why you are here. This is a short list that will help you increase the life of the bladder. Scroll down below and we’ll jump into it.
Steps to Dry Your Bladder
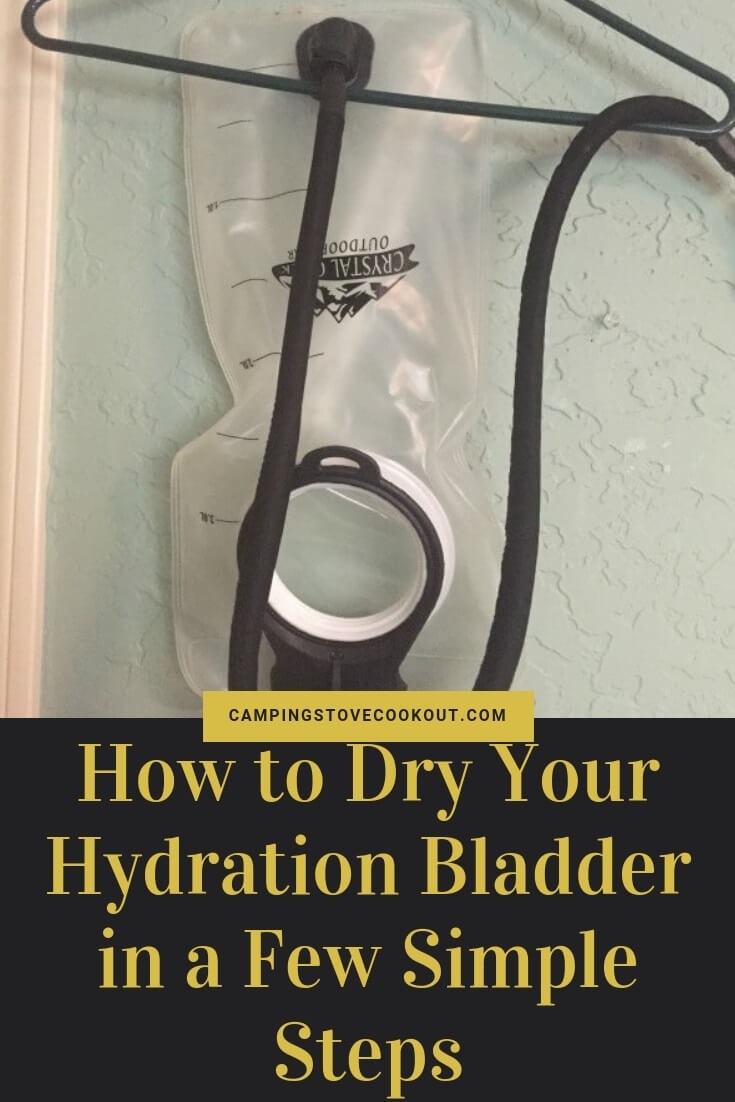
It’s really pretty simple. Go ahead and find a clothes hangar so we can get started. Here’s what to do:
- Open up your lid and poor out the remaining contents.
- Raise the bladder above your head and squeeze on the bite valve. This allows gravity to shoot the water out of the tube.
- Now, grab a clothes hangar, turn your bladder upside down and hang it from the clothes hangar.
- Let it sit there for a few hours.
- If there is any remaining water down in the bottom, just use a washcloth to wipe it out.
- Now, let it dry overnight.
- You may need to put a clothes hangar inside to open up the bladder but many times you can just do this by forming it with our hands.
- Once it’s dry, put it away but leave the lid off so it can continue to air out.
That was easy right? I know, not much to it. That’s one of the great things most bladders – they’re super easy to use and clean. The bonus with clear color bladders is that you can see if something funky starts to build up inside.
Have fun out there and connect with us soon!


